
Advanced#
Note
Two optional power features live here: multiple Daz scenes on one character (outfits, per-scene hair, per-scene overrides) and the Modify JCM frames grid. (Preserve morphs / node transforms are covered in Your first character.)
Multiple Daz scenes — outfits & hair variants#
One character often exists as several Daz scenes — outfits, hair styles, themed variants. Instead of duplicating the character, link every scene to the one definition: the ROM stays shared, and the per-scene bits (hair, overrides) attach to their scene.
Add scene (or dropping a .duf on the cards) links another scene. It's
validated first — same Genesis generation, one character, empty timeline, and
the same GP/DK geograft as the primary, so every scene produces the
primary's skeleton (Add anyway overrides) — then copied into its own
subfolder of the character's scenes folder (the name is suggested from the
scene's filename and stays editable, but can't be empty — each scene's export
nests under it) or left in place. The primary scene can't be unlinked;
extras can. Every card has Open in Daz. The primary can be replaced
instead: its card's folder button browses for a new scene, runs the same
validation and copy-vs-link decision as Add scene, then swaps it in — the
Genitalia section re-derives from the new scene's geograft, its detected
hair items are pre-selected,
the avatar follows, and an old in-folder copy can be deleted right there (a
linked-in-place original is always kept).
Replacing is only offered while the primary is the character's only scene. Every extra scene was checked against the primary when it was added — above all for the same GP/DK geograft, since every scene has to produce the primary's skeleton. A new primary re-decides that reference, so one without Golden Palace would leave a set of already-validated scenes quietly mismatched. Unlink the others first — leave Delete file on disk unticked (it starts off), so the files stay where they are — replace, then add each scene back: it is validated properly against the new primary on the way in.
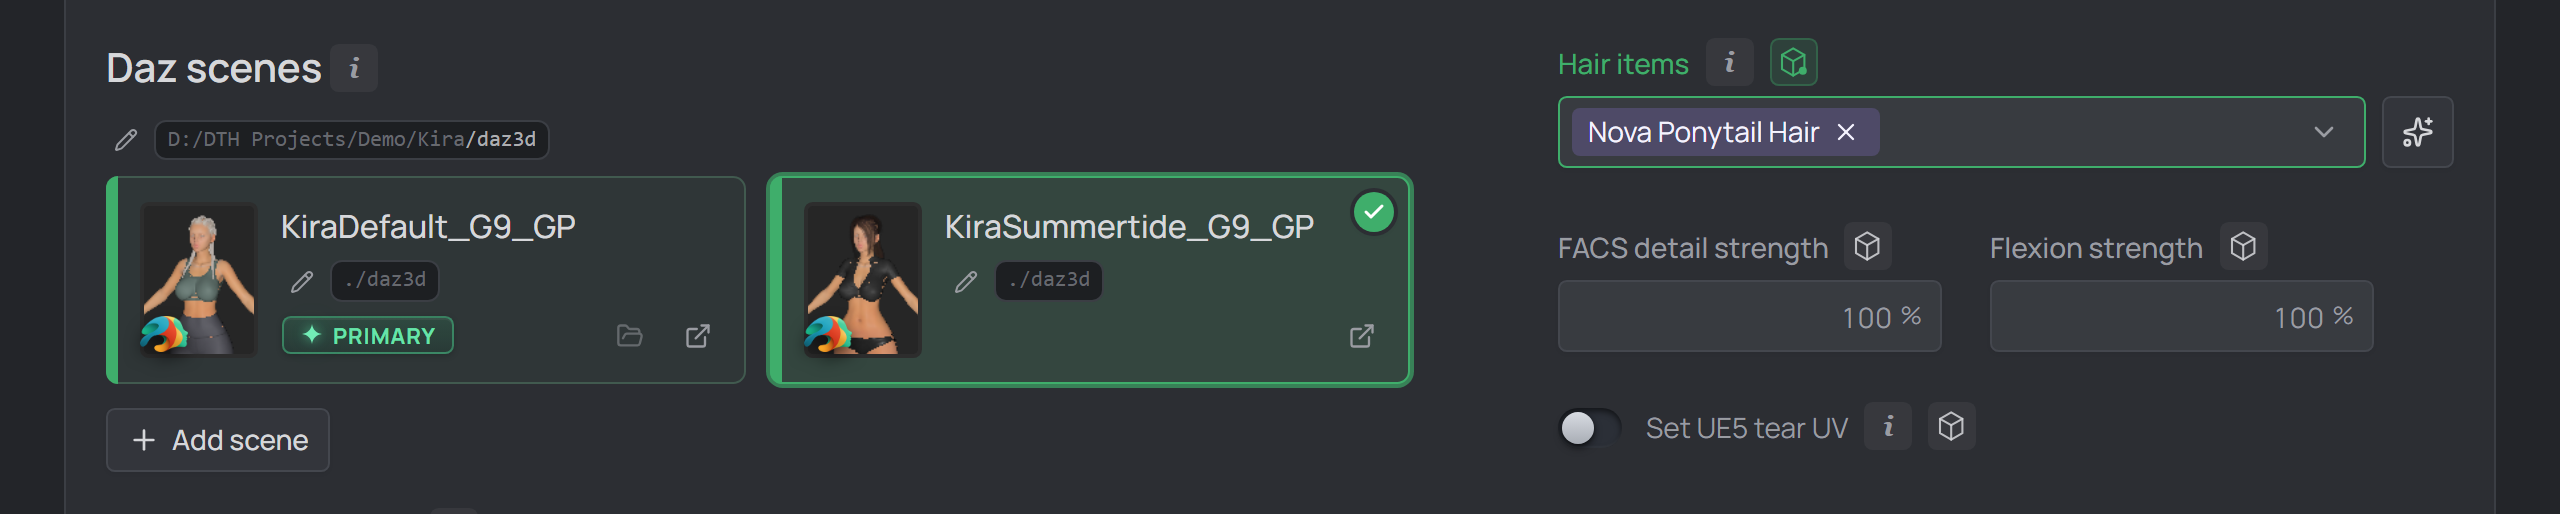
Two linked scenes: the primary and a selected outfit scene — the hair items beside the cards belong to the selected one.
The selected scene#
Clicking a card selects that scene, and the per-scene features follow the selection: the hair items list beside the cards edits the selected scene's list, and editing an overridable field overrides it for the selected scene. Scroll the cards off-screen and a docked scene bar slides up along the bottom — the selected scene on the left with a green ring, the others in a scrollable rail. Click a pill to switch, exactly like its card.
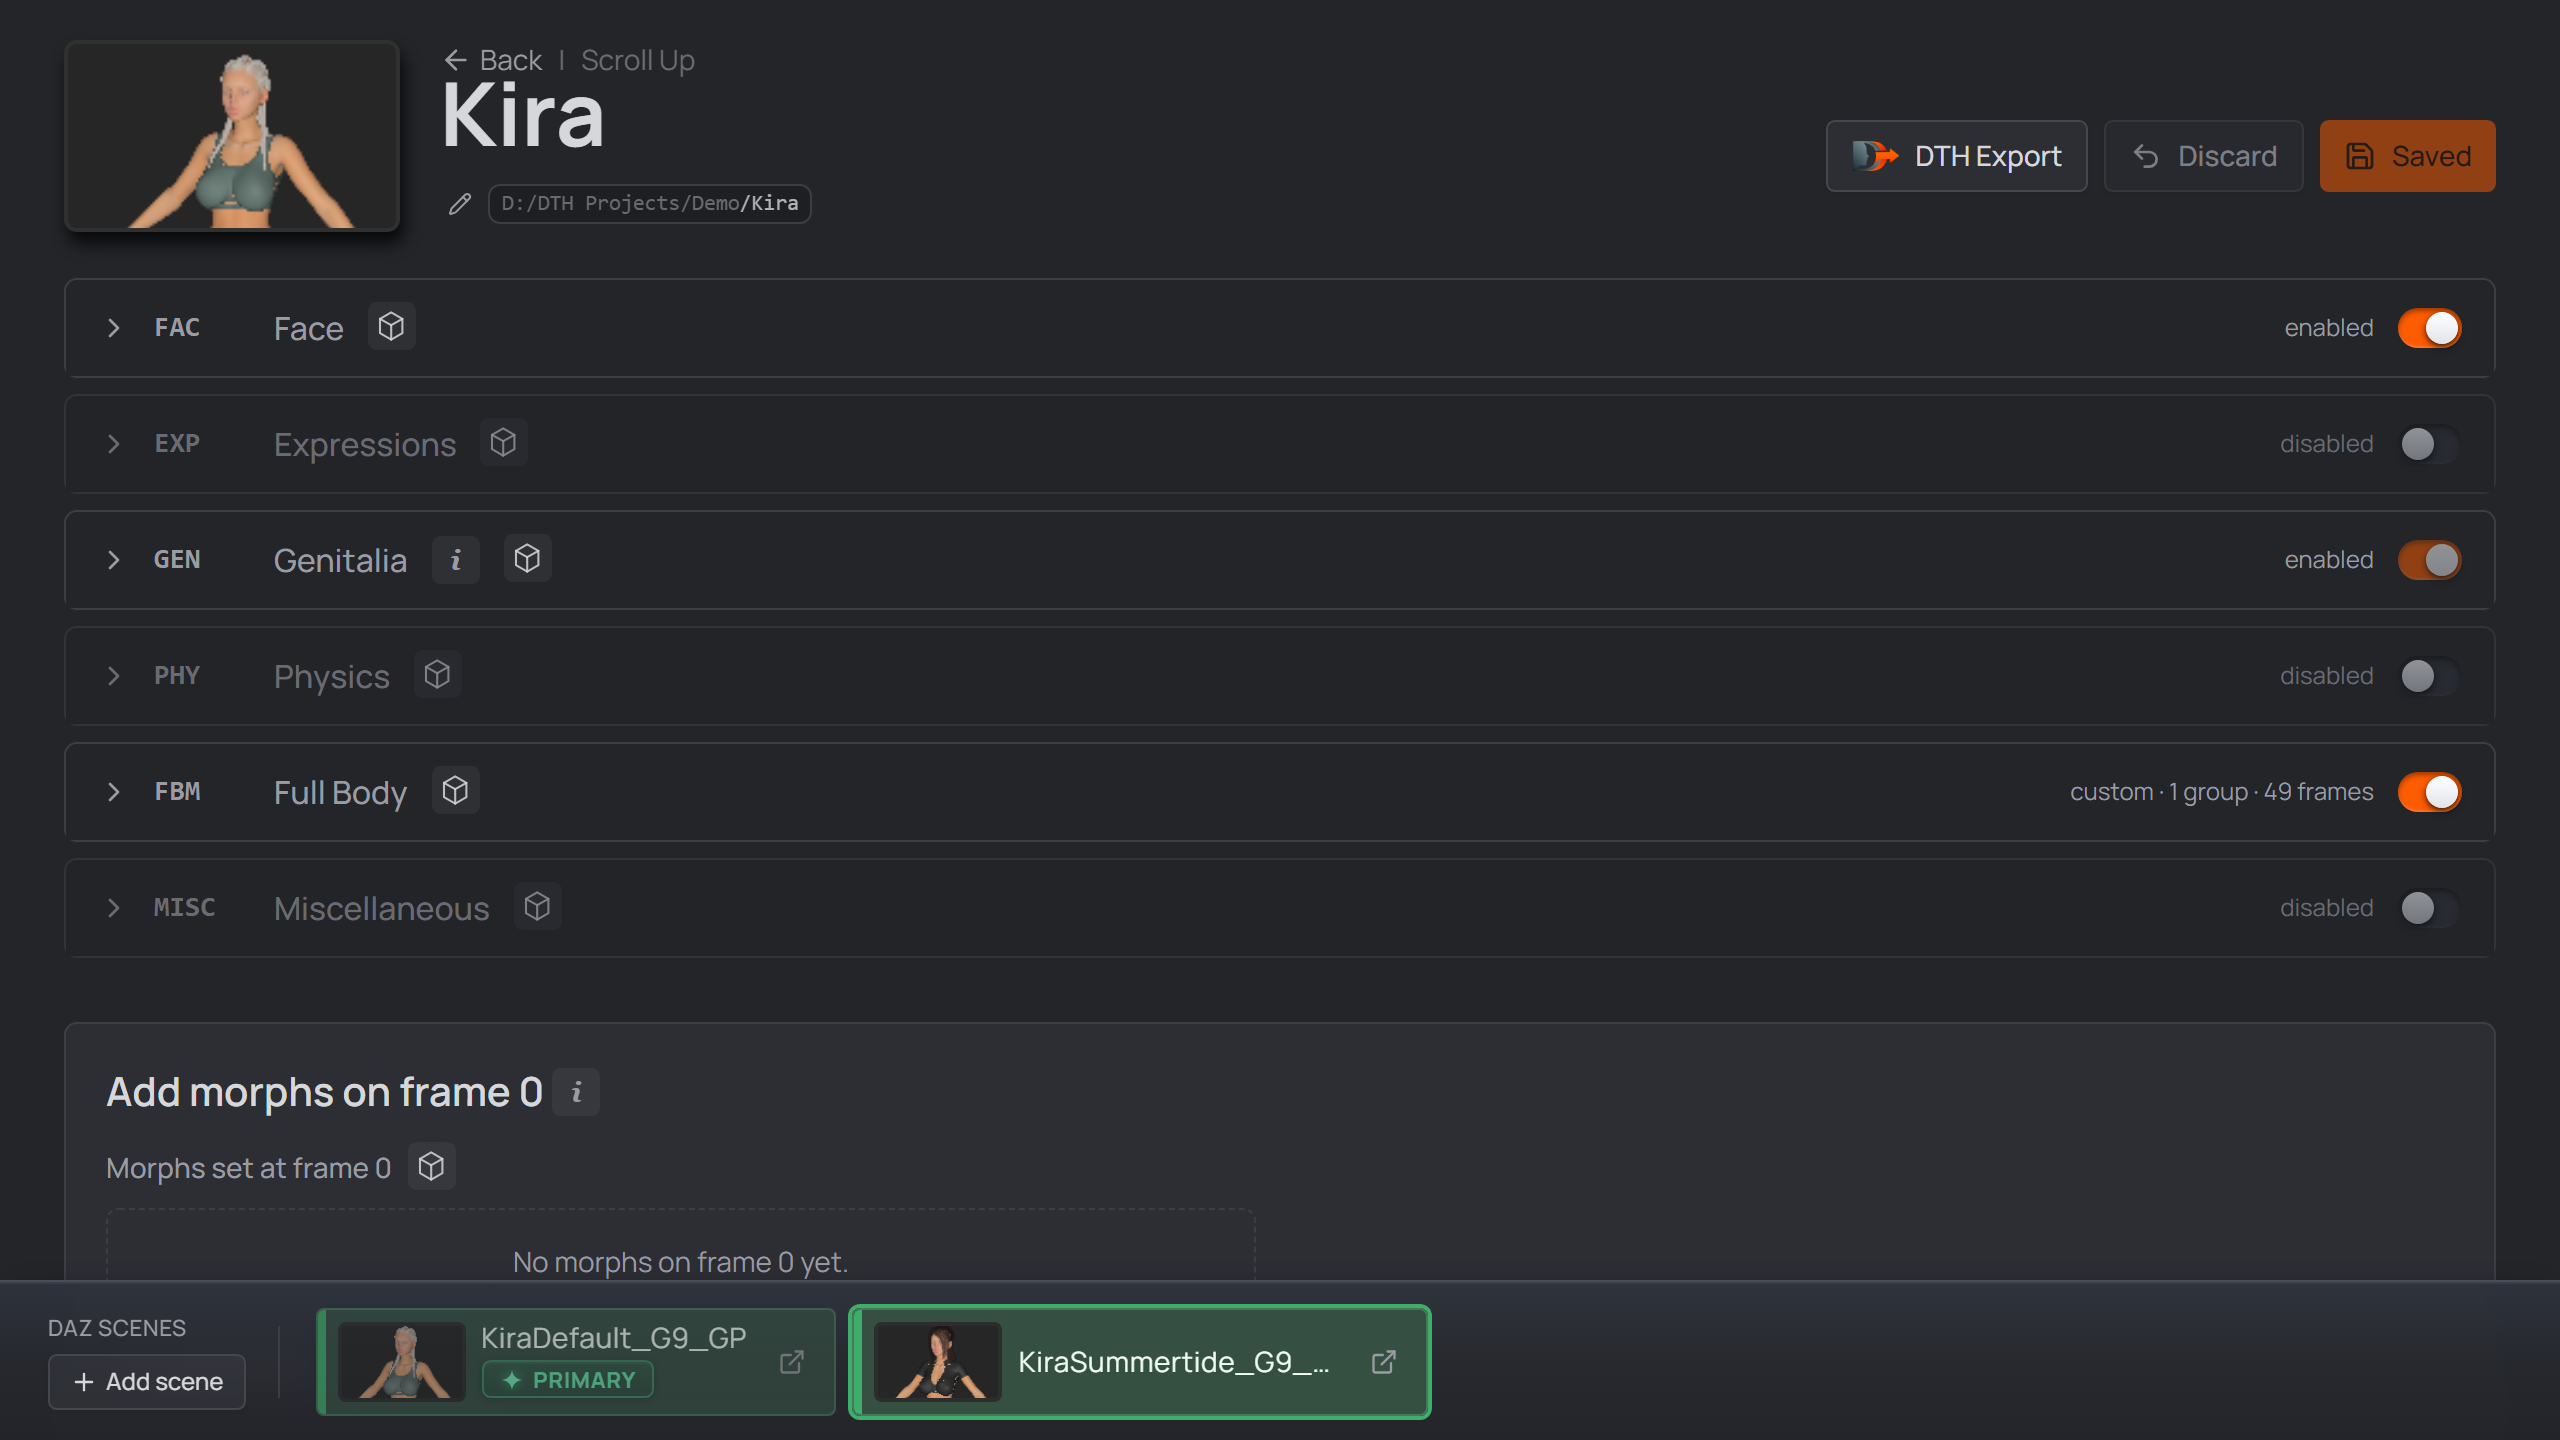
Scroll the scene cards off-screen and the docked bar keeps the selected scene on hand — click a pill to switch.
Hair items — per scene, kept out of the export#
Hair is per scene by presence: each scene carries its full look — hair included — and whatever a scene lists as hair items stays out of the DTH export: hidden right before the DTH Exporter runs, shown again after. The DTH Exporter Plugin 2.0.1+ also unparents them, keeping them out of both the FBX and the Alembic (the character page warns when your plugin is older and would leak hair into the FBX). A scene that lists nothing excludes nothing — the classic workflow with hair in separate Daz scenes needs no setting.
The picker edits the selected card's list — lists are per scene, since outfit scenes carry different hair. The one generated script bakes every scene's list and applies the right one for whichever scene is open in Daz.
- List the top fitted item (e.g. the hair cap) — its children ride along automatically.
- The dropdown offers the items found in the scene file; a label it doesn't offer can be typed exactly as it appears in Daz's Scene pane.
- A listed label that isn't found in the open scene turns amber — the export stops loudly rather than silently shipping a hair-polluted export.
Characters with hair items also get an Export_Hair_… script — it exports
one <Name>_Hair_<item>_grooms.abc per listed hair item for Houdini's
DazToHueGroom Import node (each item worn, every other wearable hidden).
Per-scene overrides — edit to override#
Beyond hair, almost everything on the character page can differ per scene: the identity dials (FACS detail strength, Flexion strength, Set UE5 tear UV), the Advanced options preserve morphs & node transforms, and the whole ROM — every section's mode, preset asset, GEN art direction, custom-JCM path, frames and groups, plus the Modify JCM frames grid. There is no override switch — on a non-primary scene you just edit the field, and a value that differs from the primary becomes that scene's override.
While a non-primary scene is selected, each overridable field — and each ROM section title — carries a small cube glyph: plain = can be overridden, green dot + green field = overridden. Hover the cube for a reset button back to the primary's value. On the primary scene the cubes don't show at all. The one thing no scene can override is the GEN section's on/off state — it follows the primary scene's geograft everywhere (its content, art direction included, overrides like any other section's).
ROM overrides#
A second outfit sometimes needs different morphs on a few frames, extra frames for morphs only that outfit's assets have (a skirt flow, a hood adjust), or a whole section set up differently.
Select the extra scene (the primary is the base ROM); every control stays live. What you touch decides how much becomes the scene's override:
- Tweak a base row — its value, name, morphs, bone scale — and just that row becomes the override: it turns green and gains a reset (the green ↺) back to the base ROM frame. Untouched rows keep tracking later base edits.
- Restructure or reconfigure a section — reorder, insert or delete a frame, add a group, switch the mode (Preset ⇄ Custom), swap the preset asset, edit a GEN Art-direction frame, set a custom JCM path, or Import from Daz scene — and the whole section becomes this scene's override, editable exactly like the primary but stored on this scene.
Either way the section's title cube goes green; the section-title reset restores the entire section to the primary at once, the per-row ↺ only that frame.

A non-primary scene's ROM grid: the green row is overridden for this scene (↺ resets it); the rows around it stay exactly as the base ROM.
What Save generates#
Save still produces one ROM apply-script — there are no per-scene scripts:
ROM_<Name>_<Genesis>.dsaembeds every scene's overrides and applies the right ones for whichever scene is open in Daz. One script serves the primary and every outfit scene.- A scene whose overrides change the frame layout — different frames or
counts, a swapped preset, a flipped mode — also gets its own
<Name>_<Scene>_pose_asset.csvbeside the default one (in the studio's own.dcsmetafolder for that character), since Houdini has no runtime to pick frames. Overrides that only change applied values (identity dials, preserve morphs, GEN art direction, JCM mods) ride the base CSV — no extra file.
Note
Overrides are validated on Save exactly like the base ROM — an added frame still needs a name and a morph, and a blocked save jumps straight to the offending row. Frame numbers shown on a non-primary scene are the merged ones: what that scene's CSV actually generates.
An override isn't a mode you switch off — it exists exactly as long as something differs from the primary. Reset every green field and section title and the scene falls back to the base; its extra CSV is cleaned up on the next save. Unlinking the scene does the same, so re-linking it later restores the work.
Modify JCM frames#
The JCM section runs the shipped joint-corrective poses — bones rotate through their range and the stock correctives fire. The Modify JCM frames grid rides your own morphs along with those bends (collapsed by default).
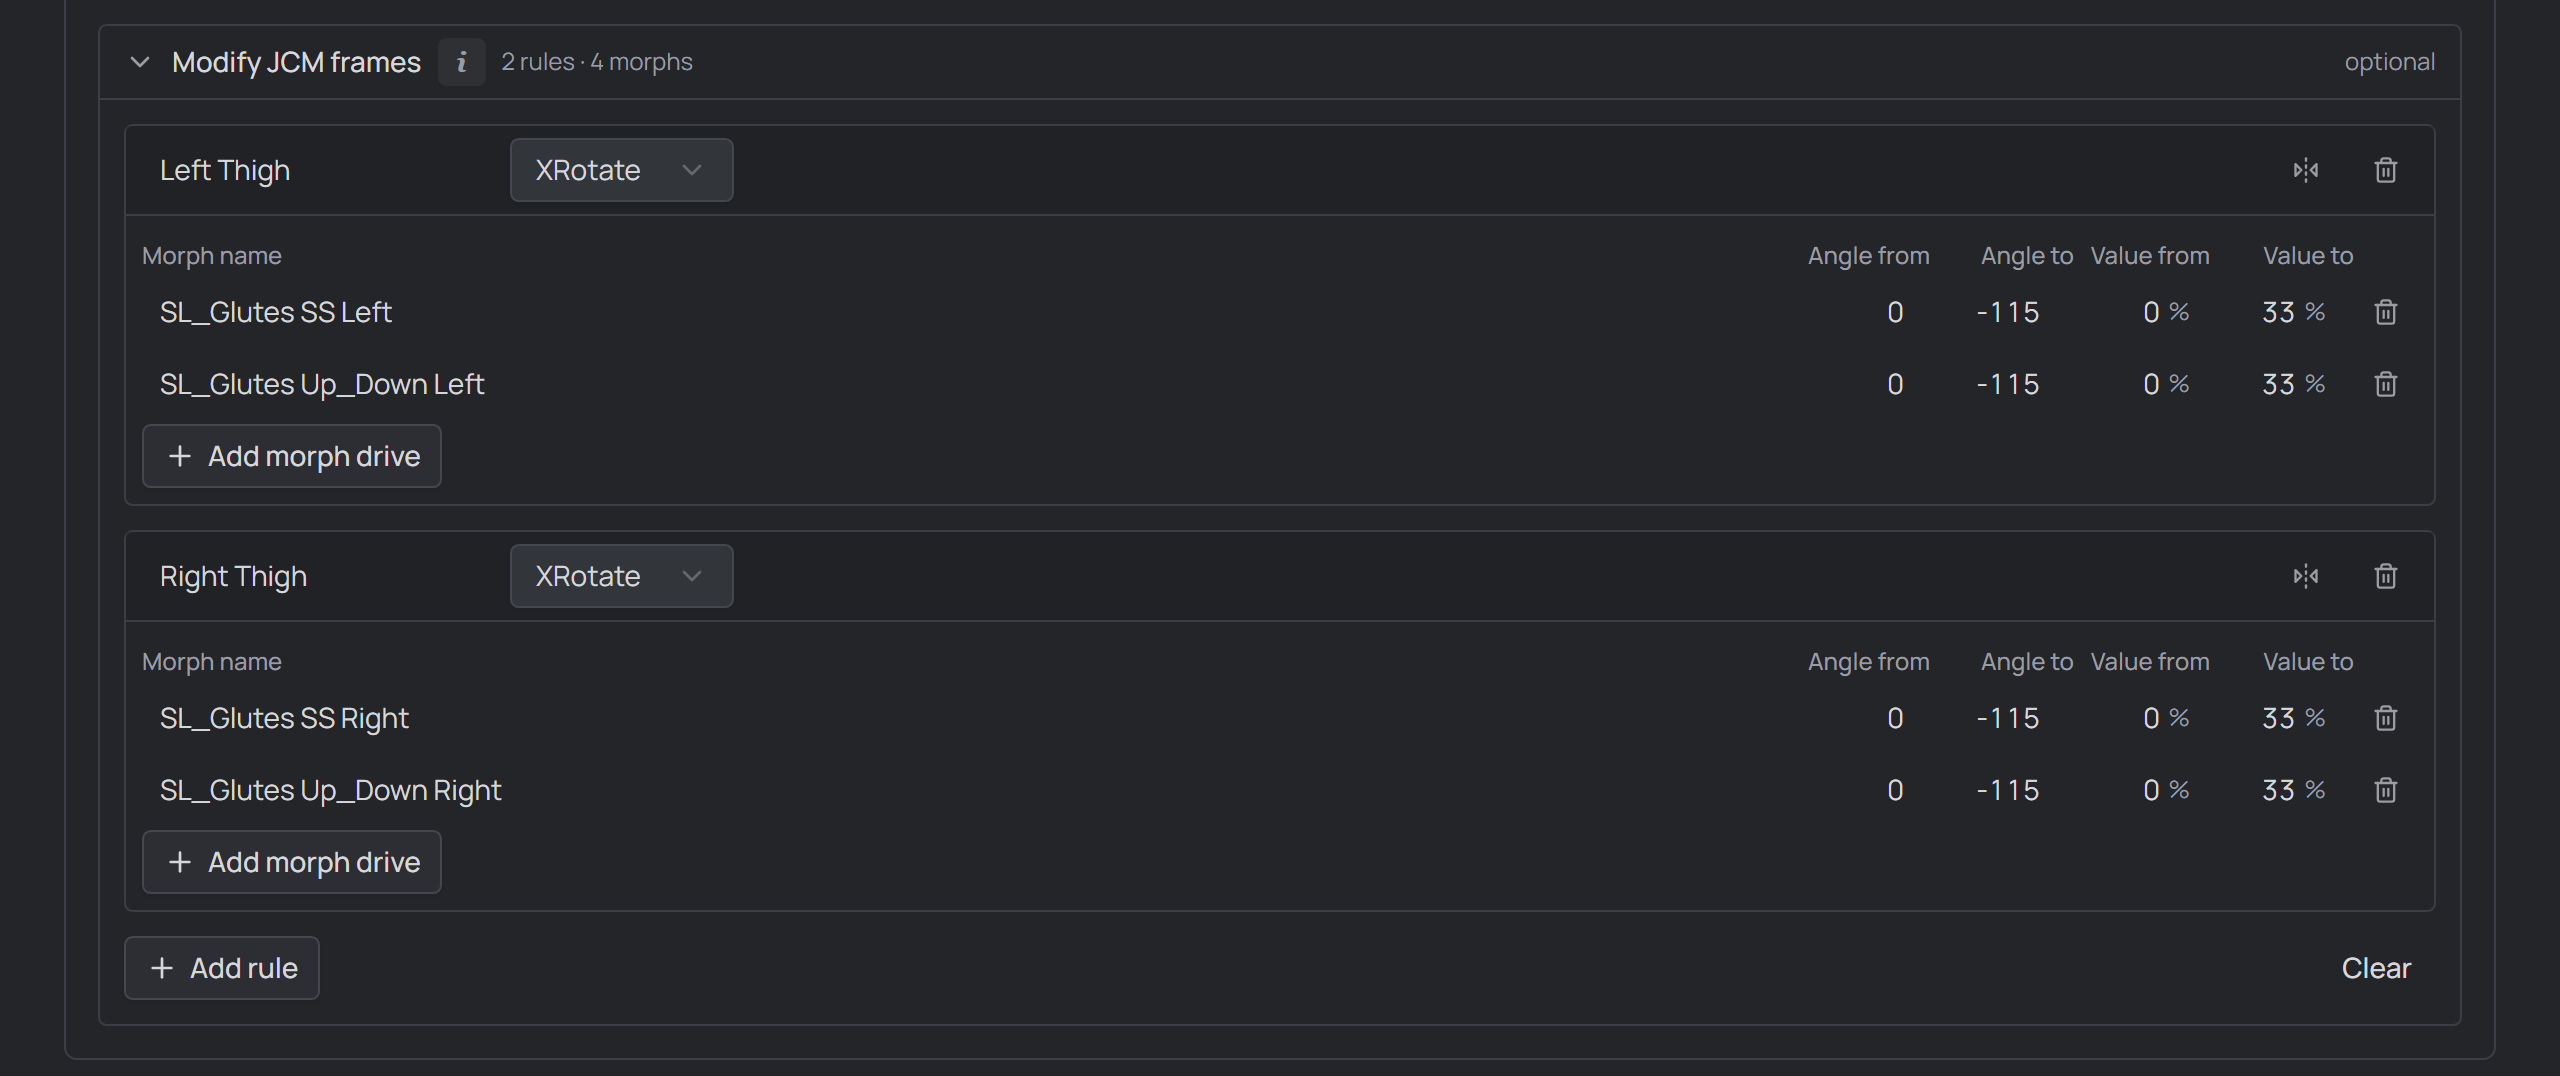
The Modify JCM frames grid expanded in the JCM section.
The grid is built from rules, each watching one bone's rotation axis (XRotate / YRotate / ZRotate) across the JCM ROM. A rule's drives are the morphs it sets in proportion to the keyed angle — the angle range maps linearly onto a value range. Example: layer a custom calf-flex morph on top of the shipped knee-bend poses.
The bone field autocompletes from the same one-run index as every morph
field — that scan records the figure's whole skeleton alongside its morphs,
so bones are searchable by Daz label or internal name. Build it once with
Tools → Scan & index (the manual Build_Genesis_Index.dsa script does the
same); see Finding a morph's internal Daz name in
Your first character.
Each drive is one row:
- Morph name — the morph to drive (autocompletes, like everywhere else).
- Angle from / to — the bone angles (degrees) over which the morph ramps;
the sign of Angle to sets the bend direction (
−115= the negative bend), so one rule can hold drives for both directions. A zero or zero-crossing range is flagged. - Value from / to — the morph's value at those angles, as a Daz-style
percentage (
100 %= fully dialed).
Add rule starts a new bone/axis; Add morph drive adds a row to a rule.
The mirror button copies a rule to the other side, flipping every
Left/Right and _L/_R token in the bone and morph names while carrying the
angles and values over unchanged — set a limb up once, mirror it.
Like the rest of the ROM, the grid is overridable per scene — edit it on a non-primary scene and that scene keeps its own JCM mods (the JCM section title goes green; its reset restores the primary). See Per-scene overrides.